
Image Eraser Online
Use this cleanup editor when you do not want to crop the photo or rebuild the whole design. Keep the frame, keep the subject, and erase only the part that should not be there. That might be a cable crossing a wall, a sticker on a product shot, a stray object on a table, or an accidental mark in a screenshot.
The tool uses AI inpainting rather than a manual clone brush. You mark the area, the model studies the surrounding texture, and the editor returns a repaired version. It is faster than opening a full photo editor for small fixes, while still giving you control over exactly what gets erased.
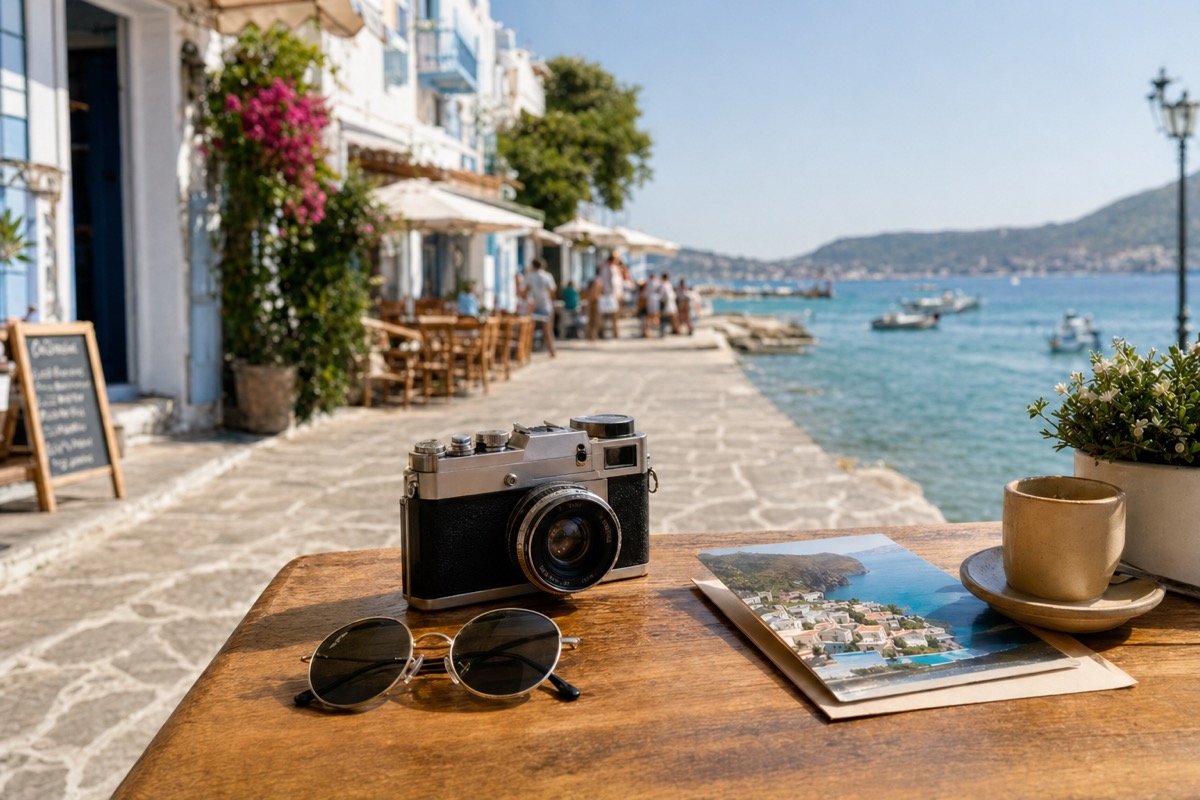
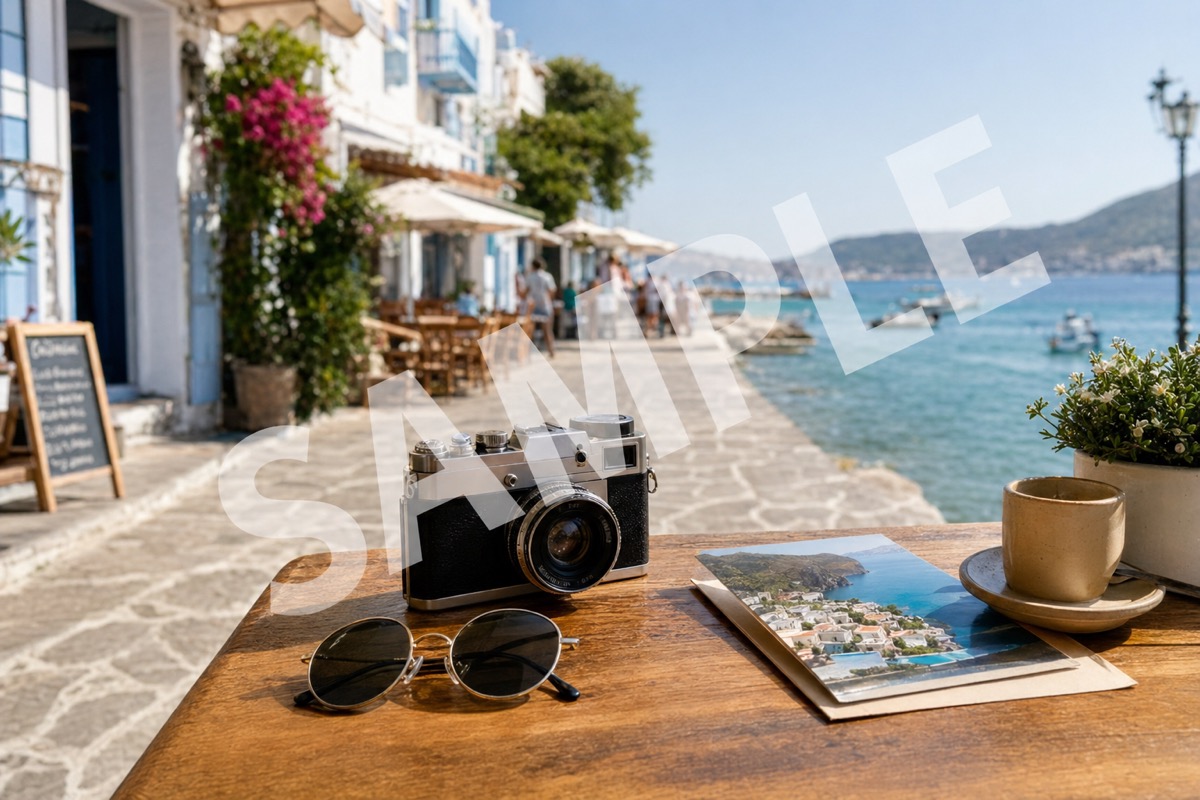
Supported formats: png jpg jpeg webp bmp
What to erase from an image
Unwanted objects
Erase things from image backgrounds such as boxes, cups, cables, price cards, or extra props without changing the full composition. This is the practical cleanup people expect from an online image eraser or image eraser tool.
Marks and overlays
Clean small marks, captions, and stickers when polished output is needed for a presentation or post.
Product photo cleanup
Remove temporary labels, tabletop clutter, or edge distractions before adding the photo to a listing or catalog.
Everyday photo fixes
Use a high-resolution cleanup workflow for casual images where a small distraction takes attention away from the subject. It can behave like a photo eraser without watermark preview before you commit to export.
How to erase a selected area
The editor keeps the process close to a normal brush workflow but lets AI handle the actual reconstruction.
Upload the image
Choose a JPG, PNG, or WEBP file from your phone or computer. The editor opens the full image so you can inspect the area before spending credits or exporting an HD file.
Brush the part to fix
Brush only the part you want erased. For the best repair, leave clean background pixels around the selected area so the model can continue the scene.
Preview, refine, and download
Review the rebuilt area at full size. If a faint edge remains, make a tighter second pass. When the result looks natural, download the cleaned image for your listing, post, document, or design file.
Before and after cleanup examples
These examples show how targeted cleanup can fix product, travel, and interior images without changing the original crop.
Loose packaging and small props are removed from a product scene while the surface texture continues behind the object.


A distracting object near the subject is selected tightly so the repaired background keeps the same outdoor light and depth.
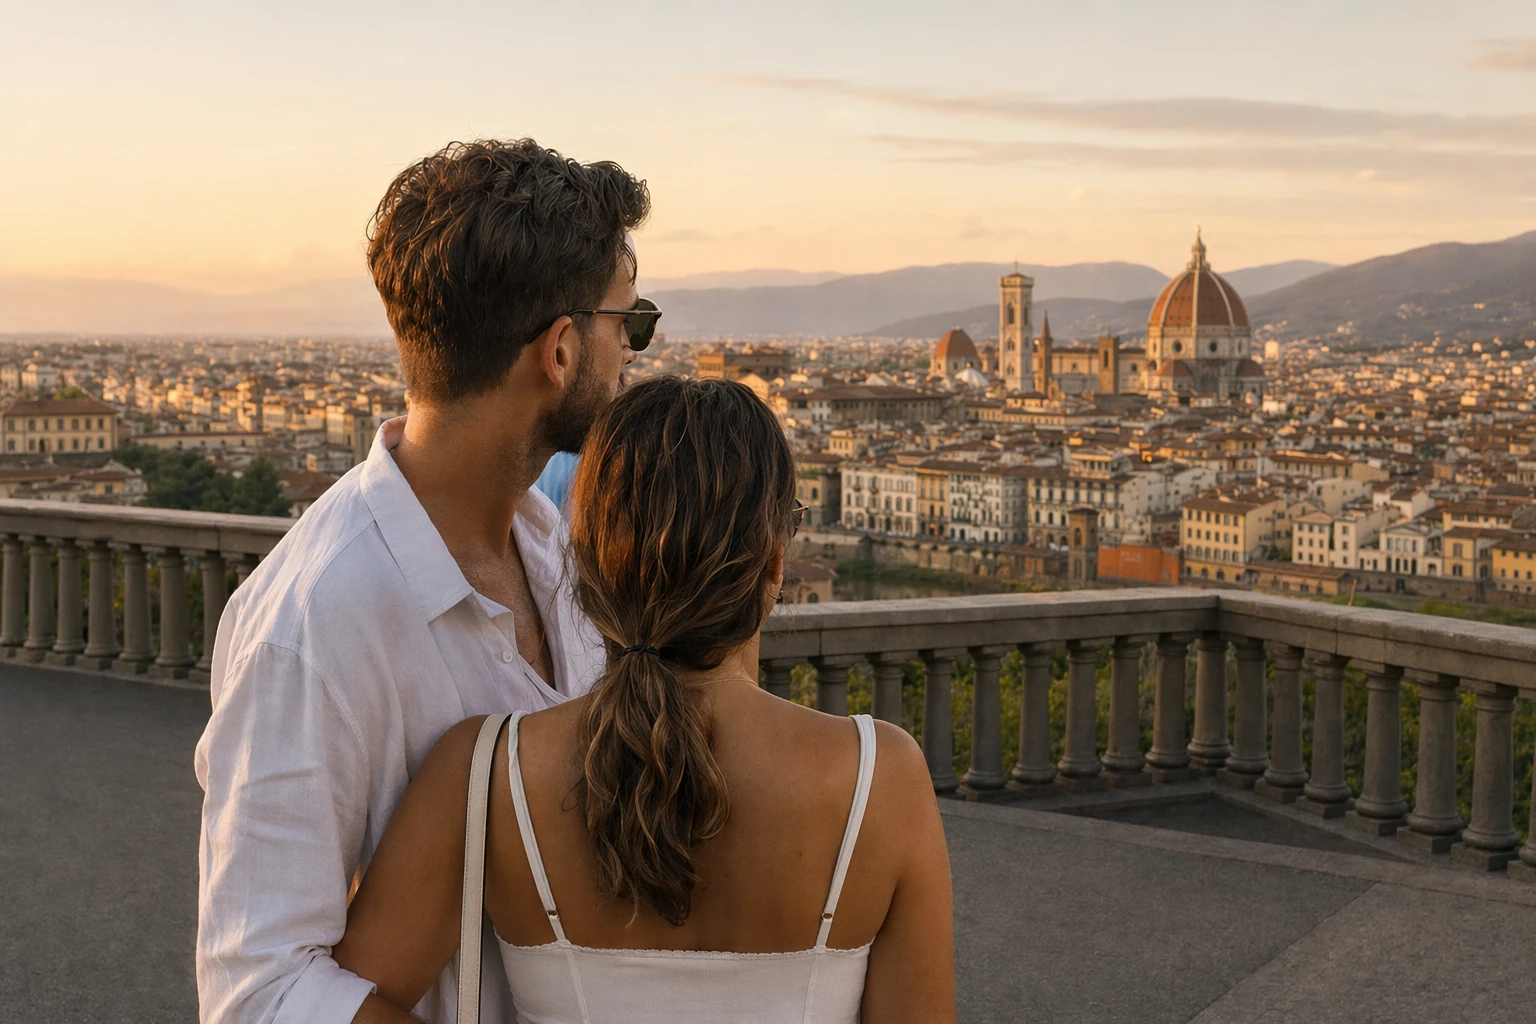
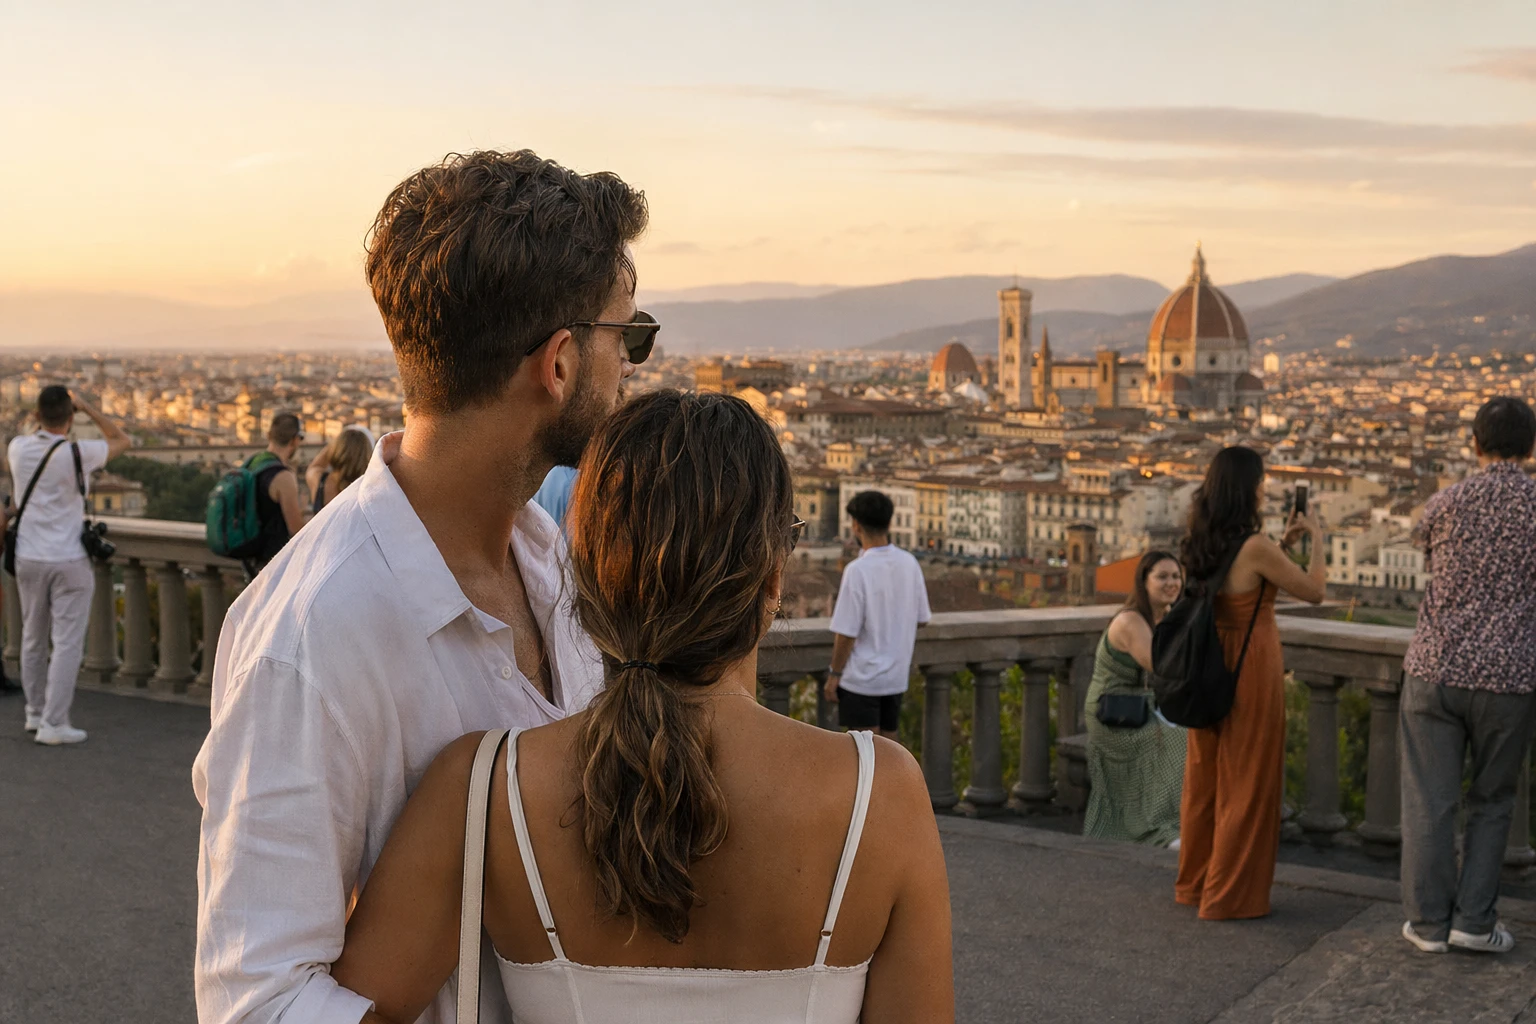
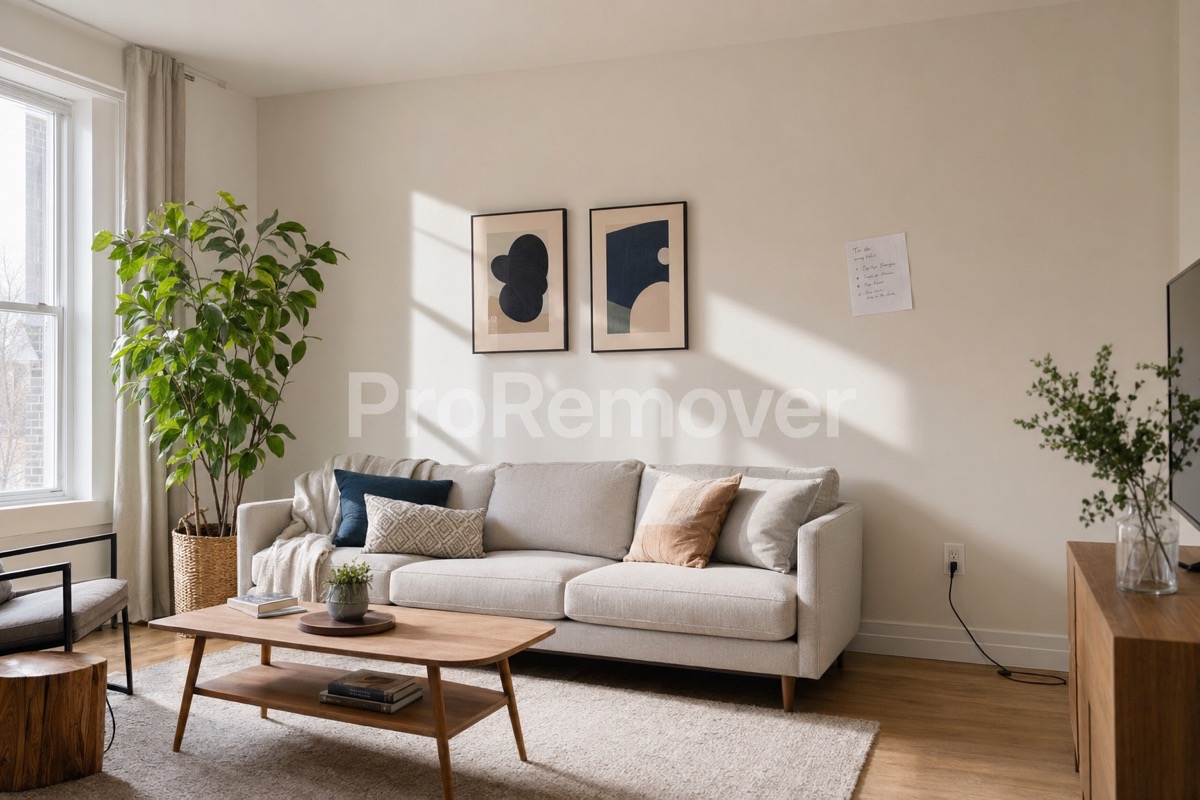
Cables and small marks over a plain interior surface are cleared in a second pass for a cleaner final frame.

When the repair needs extra care
Do not over-brush
A large selection gives the model more room to guess. Erase one object or mark at a time when quality matters.
Watch product edges
If the erased item touches a product outline, inspect the edge before exporting. A second pass can clean leftover blur.
Keep original context
The tool removes detail; it does not redesign the image. Use AI edit pages when you want a new scene or style.
Respect usage rights
Only erase from images you own, created, licensed, or have permission to edit.
How to get a cleaner erased area
A good erase pass keeps the original composition believable. Before export, zoom into the repaired pixels and ask whether a viewer who never saw the original would notice anything. If the answer is maybe, reduce the selection to the leftover edge and run a second pass. Avoid using the brush like a paint bucket; the editor is strongest when it receives a precise local repair request.
Separate hard edges from soft backgrounds
When the unwanted detail touches a product or face, brush the background first and then make a careful second pass near the edge.
Keep the original crop
The value of erasing is that you can keep the framing. If the distraction sits on the border, compare whether a small crop would look cleaner than a repair.
Cleanup editor questions
Answers for common cleanup use cases, including product photos, screenshots, and small object cleanup.
Erase the distracting detail
Open the editor, brush one area, and preview a repaired image before you decide whether to export. For best results, start with one visible distraction, keep the brush tight, and compare the preview against the original crop.