
AI Image Enhancer Online
Upload a photo and let this image enhancer rebuild detail as it enlarges the file. It suits soft phone shots, small web images, and old scans that need more pixels than the original holds.
Preview the result side by side before spending anything. Enhancement adds plausible detail rather than recovering information the file never captured.
No image? Try one of these
Supported formats: png jpg jpeg webp
Scale factors and what each one is for
2x for ordinary fixes
The safest setting. A modern phone photo that is slightly soft gains crispness in edges and texture without the plastic look that heavy processing can introduce.
4x to upscale image files that are genuinely small
Use this when the source is a few hundred pixels wide, such as an old avatar or a thumbnail saved years ago. At this factor the model is filling in most of the frame, so judge the preview closely.
Sharpen blurry image sources with care
Softness from a missed focus point can improve. Motion blur, where the subject smeared across the sensor, usually cannot, because the shape information is gone rather than merely soft.
Increase image resolution for print
Enlarging for a poster or a product listing works when the source is clean. Compression artefacts get enlarged along with everything else, so start from the best copy you have rather than a re-saved export.
When people reach for this tool
Each of these is a case where the original file simply does not hold enough pixels for where it needs to go.
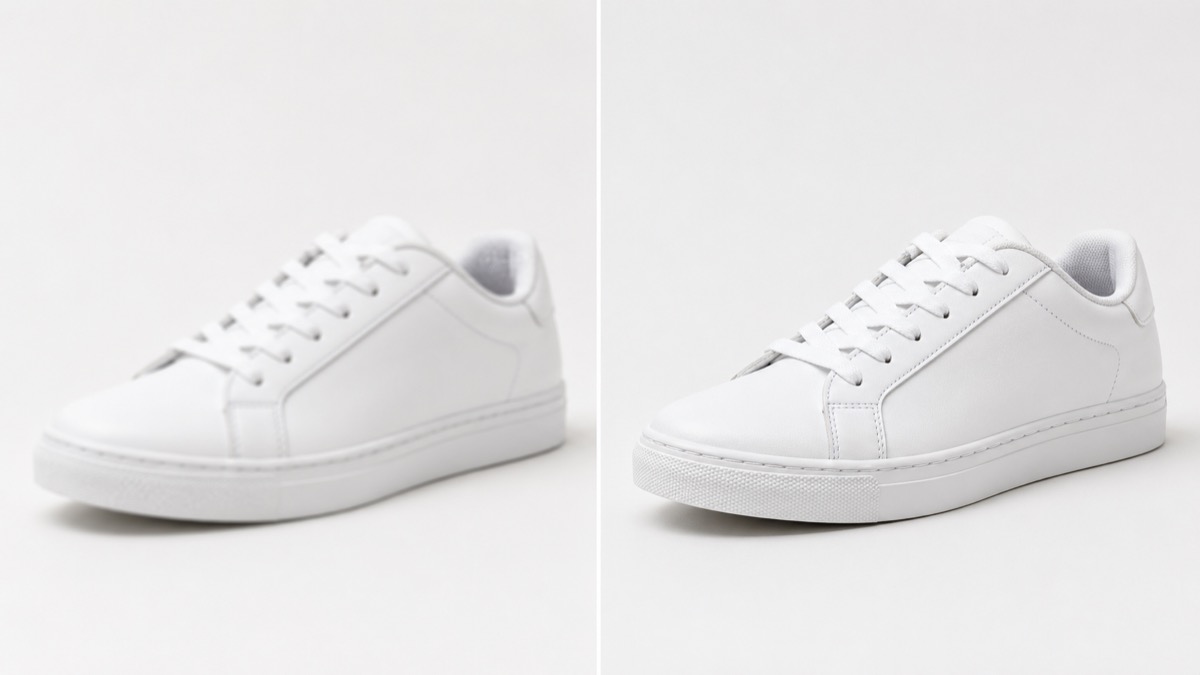
Product photos for marketplaces
Listing pages reject images under a minimum width. When the only copy of a product shot is small, enhancement gets it over the threshold while keeping edges and labels legible.
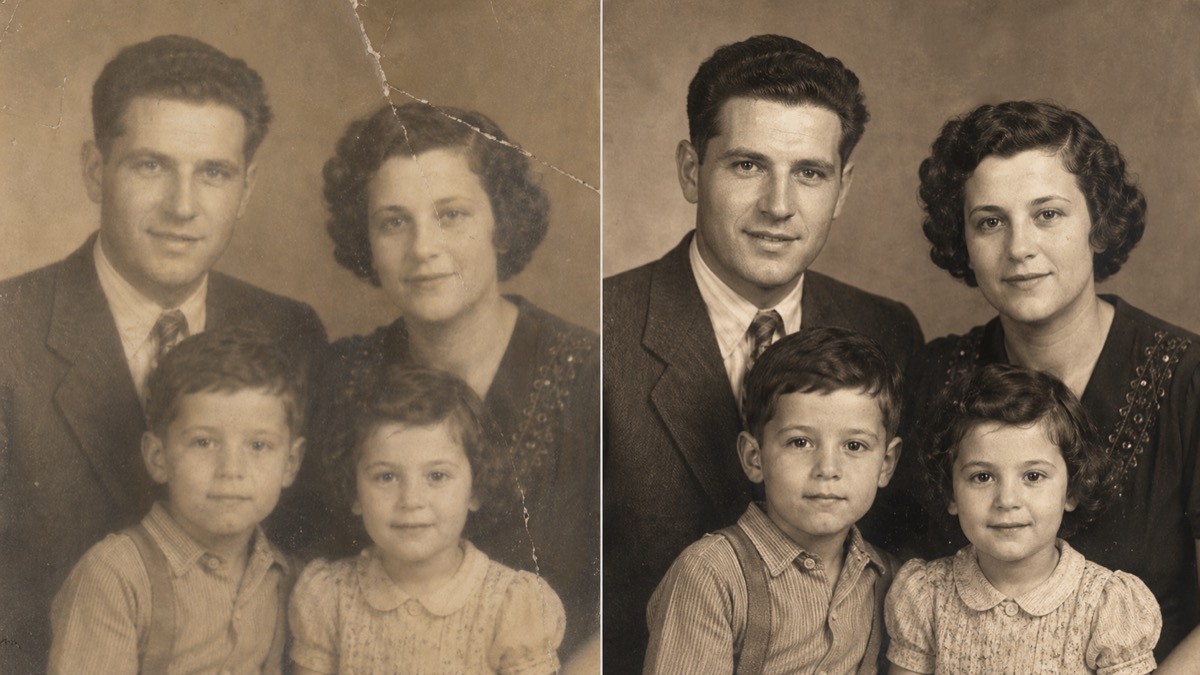
Old scans and family photos
Scans made on consumer hardware years ago are often both small and soft. Enhancement helps before printing, and the restoration tool is the better first stop when there is physical damage as well.
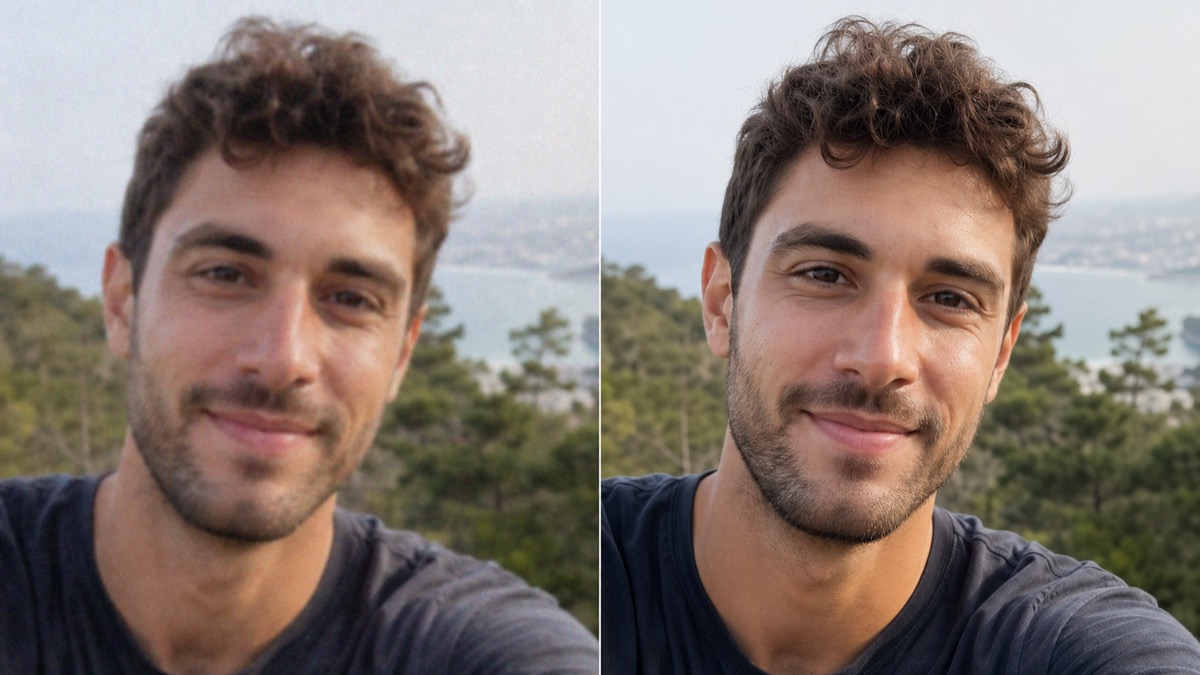
Portraits and selfies
Indoor shots at higher ISO look grainy and soft. This is a good case to improve photo quality for a profile picture, though features are exactly where over-processing shows first.
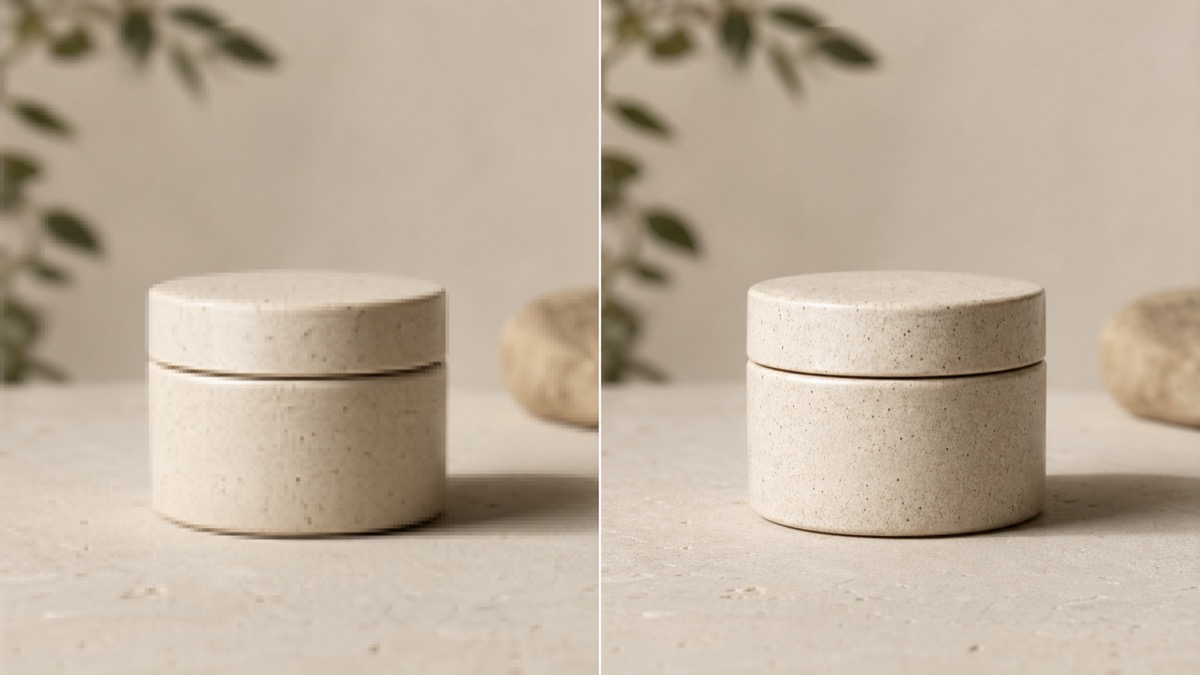
Low-resolution web images
Images saved from a site or a chat thread arrive already downscaled and re-compressed. An AI image upscaler pass makes them usable in a slide or a document again.
Before and after at full size
Compare these at the largest size your screen allows. Enhancement is a change in fine detail, so it is the one kind of edit a small thumbnail cannot show you honestly. Whether you upscale image files for print or simply sharpen blurry image edges for the web, the judgement happens at full size.
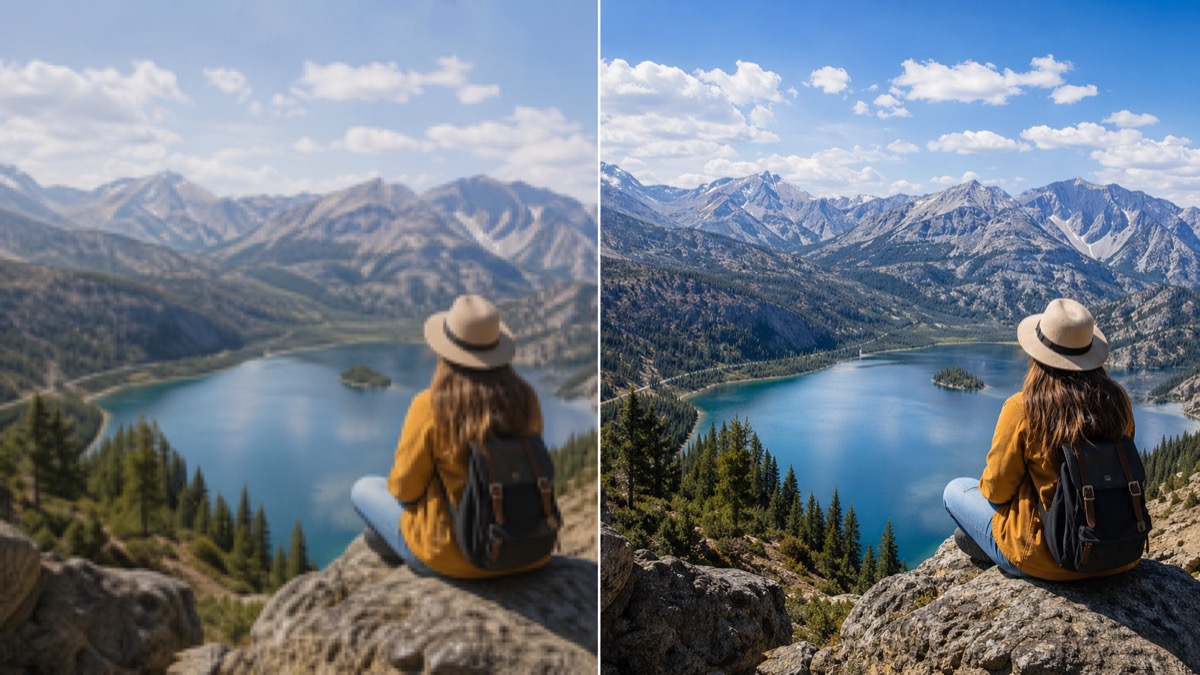
Foliage and rock detail separate out where the original was mushy. Wide scenes with lots of small texture are the most convincing case for enlargement.

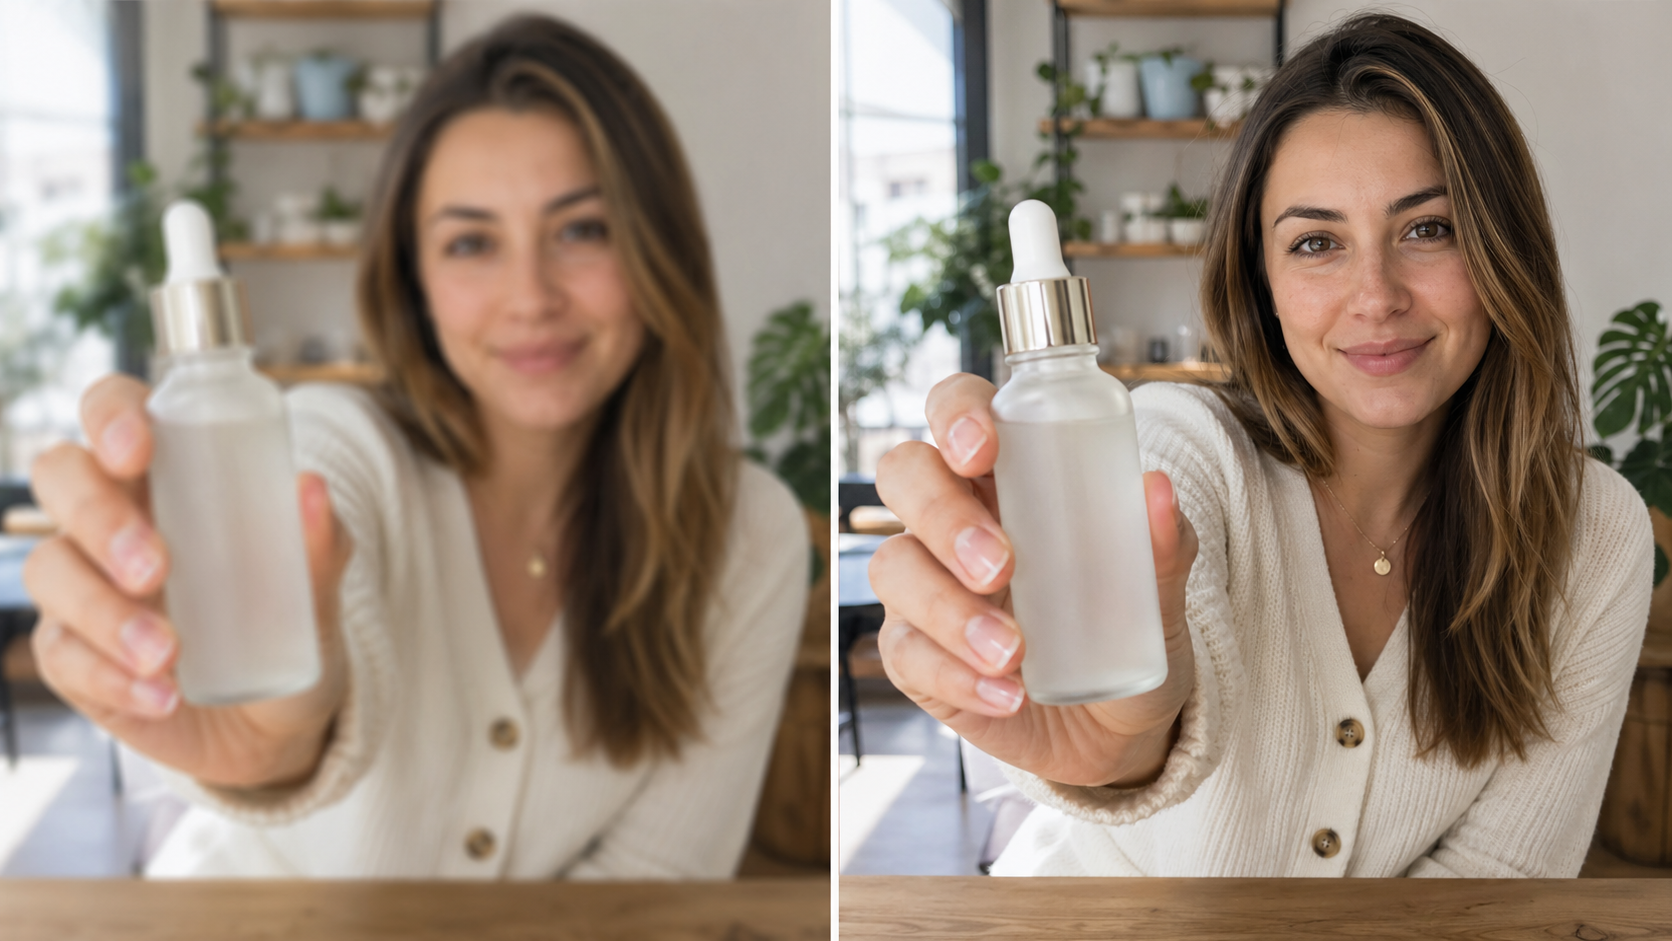
Edges firm up and the label stays readable at the larger size. Flat backgrounds enlarge cleanly, which is why studio product shots do well here.
What enhancement cannot do
It does not recover lost information
Text too small to read in the original will not become readable, and a face too few pixels wide to identify will not become identifiable. What appears is invented, not restored.
4K is not guaranteed
Output size depends on the source and the scale you choose. No image enhancer can turn a very small input into a 4K frame at usable quality, whatever factor is applied, so treat fixed-resolution promises elsewhere with suspicion.
Heavy compression stays visible
Blocky JPEG artefacts and banding are part of the pixels now, so enlarging makes them larger too. Always start from the least-processed copy available.
Faces need a careful look
Skin, eyes, and teeth are where generated detail reads as artificial soonest. When you improve photo quality on a portrait, compare at full size and drop to a lower scale if the result looks synthetic.
Questions about image enhancement
Cost, formats, and how to judge whether a result from this image enhancer is worth downloading.
Enhance an image now
Upload a photo to preview the enhanced result, or open a related tool if your file needs different work.