
AI Object Remover Online
Use this focused cleanup editor when one distracting item weakens an otherwise good image: a cable beside a product, a trash bin behind a portrait, a cup on a desk, or a mark sitting near the subject. Upload the image, brush only the object you want gone, and let ProRemover rebuild the missing pixels from the surrounding area.
The workflow is designed for practical repair rather than heavy retouching. It works best when the unwanted object sits over a wall, table, floor, sky, fabric, or other repeatable texture. You can preview the result before export, compare the repair at full size, and make another tight pass if the edge still shows.

Supported formats: png jpg jpeg webp bmp
Where targeted object cleanup works best
Product listing distractions
Remove a prop, loose tag, reflection card, or packaging scrap that pulls attention away from the product. Clean ecommerce images often need only a small AI photo cleanup pass, not a full redesign. This is the same practical use case people mean when they search for an ai object remover tool, ai remove object from photo, or ai remove object from image.
Travel and lifestyle photos
Erase a sign, cup, chair, cable, or random object in the background while keeping the light and perspective from the original frame.
Social media posts
Remove distracting details from image drafts before posting, especially when the subject is already strong and only one visible item feels messy.
Design and presentation images
Clean screenshots, mockups, slides, and campaign visuals so teams can reuse the image without opening a complex desktop editor.
How to use the cleanup editor
The workflow is intentionally short: upload, mark the problem area, review, and export. The precision comes from how tightly you select the object.
Upload the image
Choose a JPG, PNG, or WEBP file from your phone or computer. The editor opens the full image so you can inspect the area before spending credits or exporting an HD file.
Brush the part to fix
Paint directly over the object, not the whole background. A tight selection helps the AI remove object from image edges without inventing extra texture across nearby details.
Preview, refine, and download
Review the rebuilt area at full size. If a faint edge remains, make a tighter second pass. When the result looks natural, download the cleaned image for your listing, post, document, or design file.
Object cleanup examples
These examples show the type of cleanup this editor handles well: small items, clear edges, and enough visible background for a believable repair.
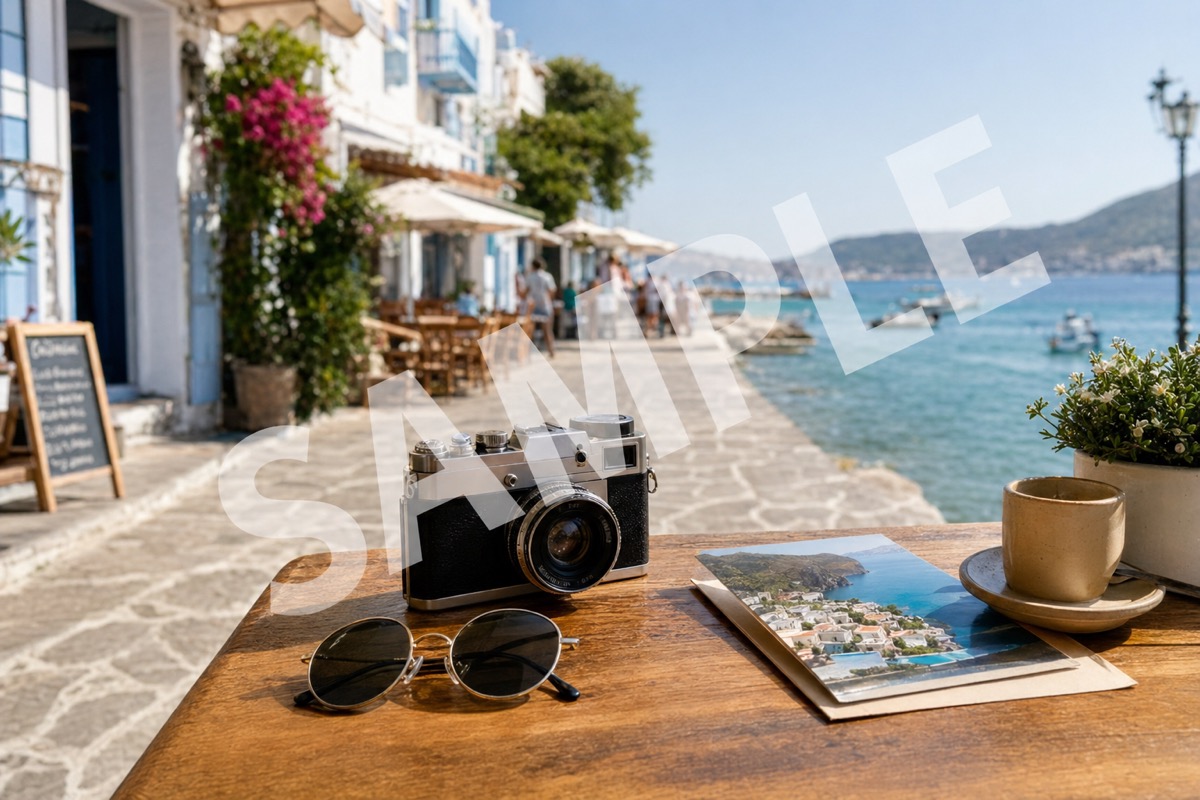
Loose packaging and small props are removed from a product scene while the surface texture continues behind the object.


A distracting object near the subject is selected tightly so the repaired background keeps the same outdoor light and depth.


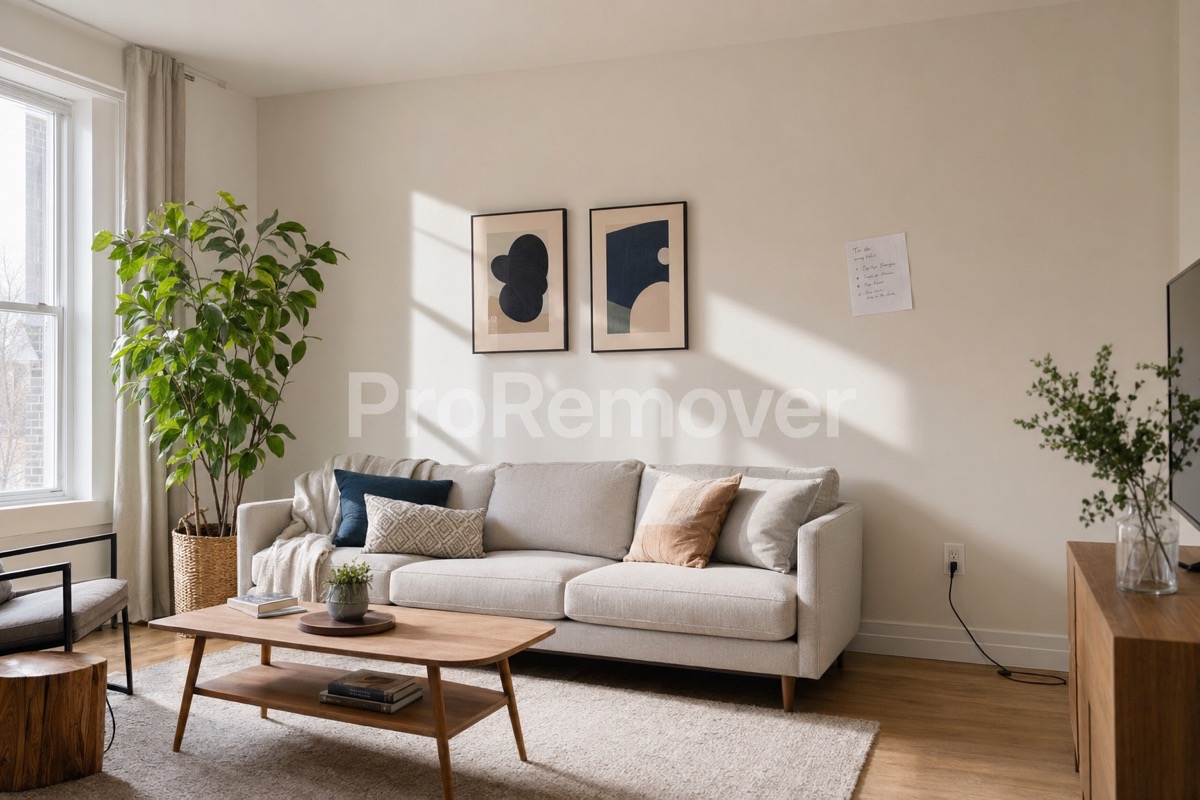
Cables and small marks over a plain interior surface are cleared in a second pass for a cleaner final frame.

Honest limits before you spend credits
Avoid brushing into the subject
If the selection crosses a face, hand, logo, or product edge, the repair can soften that detail. Keep the mask close to the distraction.
Large objects need more review
A large couch, car, or person blocking much of a scene gives the model less real context. Remove smaller distractions first for the most natural result.
Busy patterns are harder
Grass, fabric, fences, and repeated tiles can work, but the model must continue a pattern. Zoom in before downloading.
Use files you can edit legally
Object removal does not transfer rights. Use ProRemover on your own photos, client files, or images where you have permission.
How to judge whether the repair is publish-ready
Do not judge the result only from the center of the image. Check the rebuilt area at 100% zoom, then check the final size where the photo will appear. A product card, a social post, and a hero banner all hide or reveal different artifacts. If the repaired edge looks soft, run a smaller second pass instead of repainting the whole background. For ecommerce images, compare the cleaned result against other photos in the same listing so lighting, floor direction, and shadow softness still feel consistent.
Use the smallest useful mask
The model performs better when you select the distraction and a small edge around it, not a large rectangle. Smaller masks keep texture, shadows, and product edges more stable.
Review on the real destination
A repair that is invisible in the editor may show after marketplace compression or social resizing. Download a preview and check it in the layout where buyers or viewers will see it.
Object cleanup questions
Practical answers for people comparing an ai object remover tool with manual retouching or a traditional clone stamp.
Clean the object from your image now
Start with one photo, preview the AI repair, then download only when the result is ready for your store, campaign, or personal project. For the cleanest output, use an original file rather than a compressed screenshot, make the brush slightly larger than the object edge, and review the result on the same screen size where the image will be published.